Overview
Are you struggling with text visibility in your Excel spreadsheets? You’re not alone. Many users face the challenge of lengthy entries that can clutter their view and hinder data management. Fortunately, there’s a straightforward solution: enabling text wrapping.
To enhance clarity and organization, follow these steps:
- Select the desired cell or range.
- Navigate to the 'Home' tab.
- Click the 'Wrap Text' button.
This simple action allows your lengthy entries to be fully visible without excessive scrolling. Imagine the ease of navigating through your data with everything neatly displayed!
Implementing text wrapping not only improves the overall user experience but also streamlines data management. By making your entries more accessible, you can focus on analysis rather than frustration. Don’t let visibility issues hold you back—take control of your spreadsheets today!
Introduction
Enhancing the clarity of data presentation in spreadsheets is crucial for boosting productivity and informed decision-making. Excel’s features, such as text wrapping and adjustable cell heights, empower users to create organized and visually appealing documents. This ensures that no vital information is overlooked. Yet, many professionals struggle with effectively formatting their cells. How can one master these techniques to improve visibility and streamline their workflow in Excel?
By understanding and implementing these formatting strategies, you can transform your spreadsheets into powerful tools that not only convey information clearly but also enhance your overall efficiency. Mastering these skills will not only elevate your data presentation but also significantly impact your professional performance.
Understand Text Wrapping in Excel Cells
Enhance Clarity with Line Formatting in Spreadsheets
Line formatting in Excel and Google Sheets is essential for displaying information across multiple lines within a single unit. This greatly improves clarity for lengthy entries, allowing users to keep their spreadsheets organized while ensuring all content is visible—particularly in sections with detailed descriptions or notes. To understand how to make Excel cells expand to fit text vertically, simply select the desired cell or range, navigate to the 'Format' menu, choose 'Wrapping,' and select 'Wrap.' This straightforward action can significantly transform how information is presented, making it easier to digest and analyze.
The Critical Role of Text Visibility
The significance of text visibility in spreadsheets cannot be overstated. Productivity specialists emphasize that clear visibility enhances understanding and decision-making. Dan Heath notes, "Information is merely a summary of thousands of narratives—share some of those narratives to help make the information significant." Geoffrey Moore further underscores this point, stating, "Without extensive information, you are blind and deaf and in the middle of a freeway," highlighting the crucial role visibility plays in informed decision-making. By utilizing content formatting, users can discover how to make Excel cells expand to fit text vertically, ensuring their information conveys a complete narrative without the distraction of cut-off content.
Practical Advantages of Word Flow
Incorporating word flow not only improves the aesthetics of your spreadsheets but also provides practical benefits. It facilitates better organization of information, minimizes excessive scrolling, and enhances the overall user experience. Michael Stonebraker asserts, "Clean information is essential for valuable analytics," reinforcing that clear visibility is foundational to effective information management. Ultimately, understanding how to make Excel cells expand to fit text vertically is a vital step in effective spreadsheet management, particularly for professionals who rely on clear and accessible data presentation.

Wrap Text Automatically in Excel
Enhance Your Excel Experience: Automatic Text Wrapping
Are you struggling with visibility in your Excel spreadsheets? Understanding how to make excel cells expand to fit text vertically by wrapping text automatically can be a game-changer. Follow these straightforward steps to ensure your content is always clear and accessible:
- Select the cell or range of cells where you want to enable text wrapping.
- Head over to the 'Home' tab on the Ribbon.
- In the 'Alignment' group, click on the 'Wrap Text' button.
Once you activate this feature, you will understand how to make excel cells expand to fit text vertically, allowing any content that exceeds the cell's width to seamlessly wrap to the next line. This not only enhances visibility but also streamlines your workflow. For those who frequently deal with complex entries, this functionality significantly reduces the need for horizontal scrolling, making your data easier to read and manage.
Embrace the power of automatic text wrapping in Excel and transform your data management experience today!

Adjust Row Height for Visibility
Adjusting row height is essential for understanding how to make excel cells expand to fit text vertically in your spreadsheet. Here’s how to do it seamlessly with ShortieCuts:
- Select the row(s) you want to adjust by clicking on the row number(s) on the left side of the spreadsheet.
- Right-click on the selected row(s) and choose 'Row Height' from the context menu.
- Enter a new height value or select 'AutoFit Row Height' to understand how to make excel cells expand to fit text vertically based on the content.
By utilizing ShortieCuts, you gain access to over 300 Excel ALT shortcuts that significantly enhance your productivity in Google Sheets. Adjusting the row height not only improves visibility but also contributes to a cleaner, more organized spreadsheet layout. This organization makes it easier for finance professionals to analyze data effectively. Moreover, your information remains secure and private, as everything runs locally on your computer.

Insert Line Breaks for Custom Formatting
Mastering Line Breaks in ShortieCuts for Enhanced Spreadsheet Clarity
Are you struggling with formatting in spreadsheets? Many finance professionals face challenges when it comes to presenting multi-line text and managing merged cells in Excel. Fortunately, ShortieCuts offers a straightforward solution that can transform your data presentation.
To insert line breaks within a cell for custom formatting using ShortieCuts, follow these simple steps:
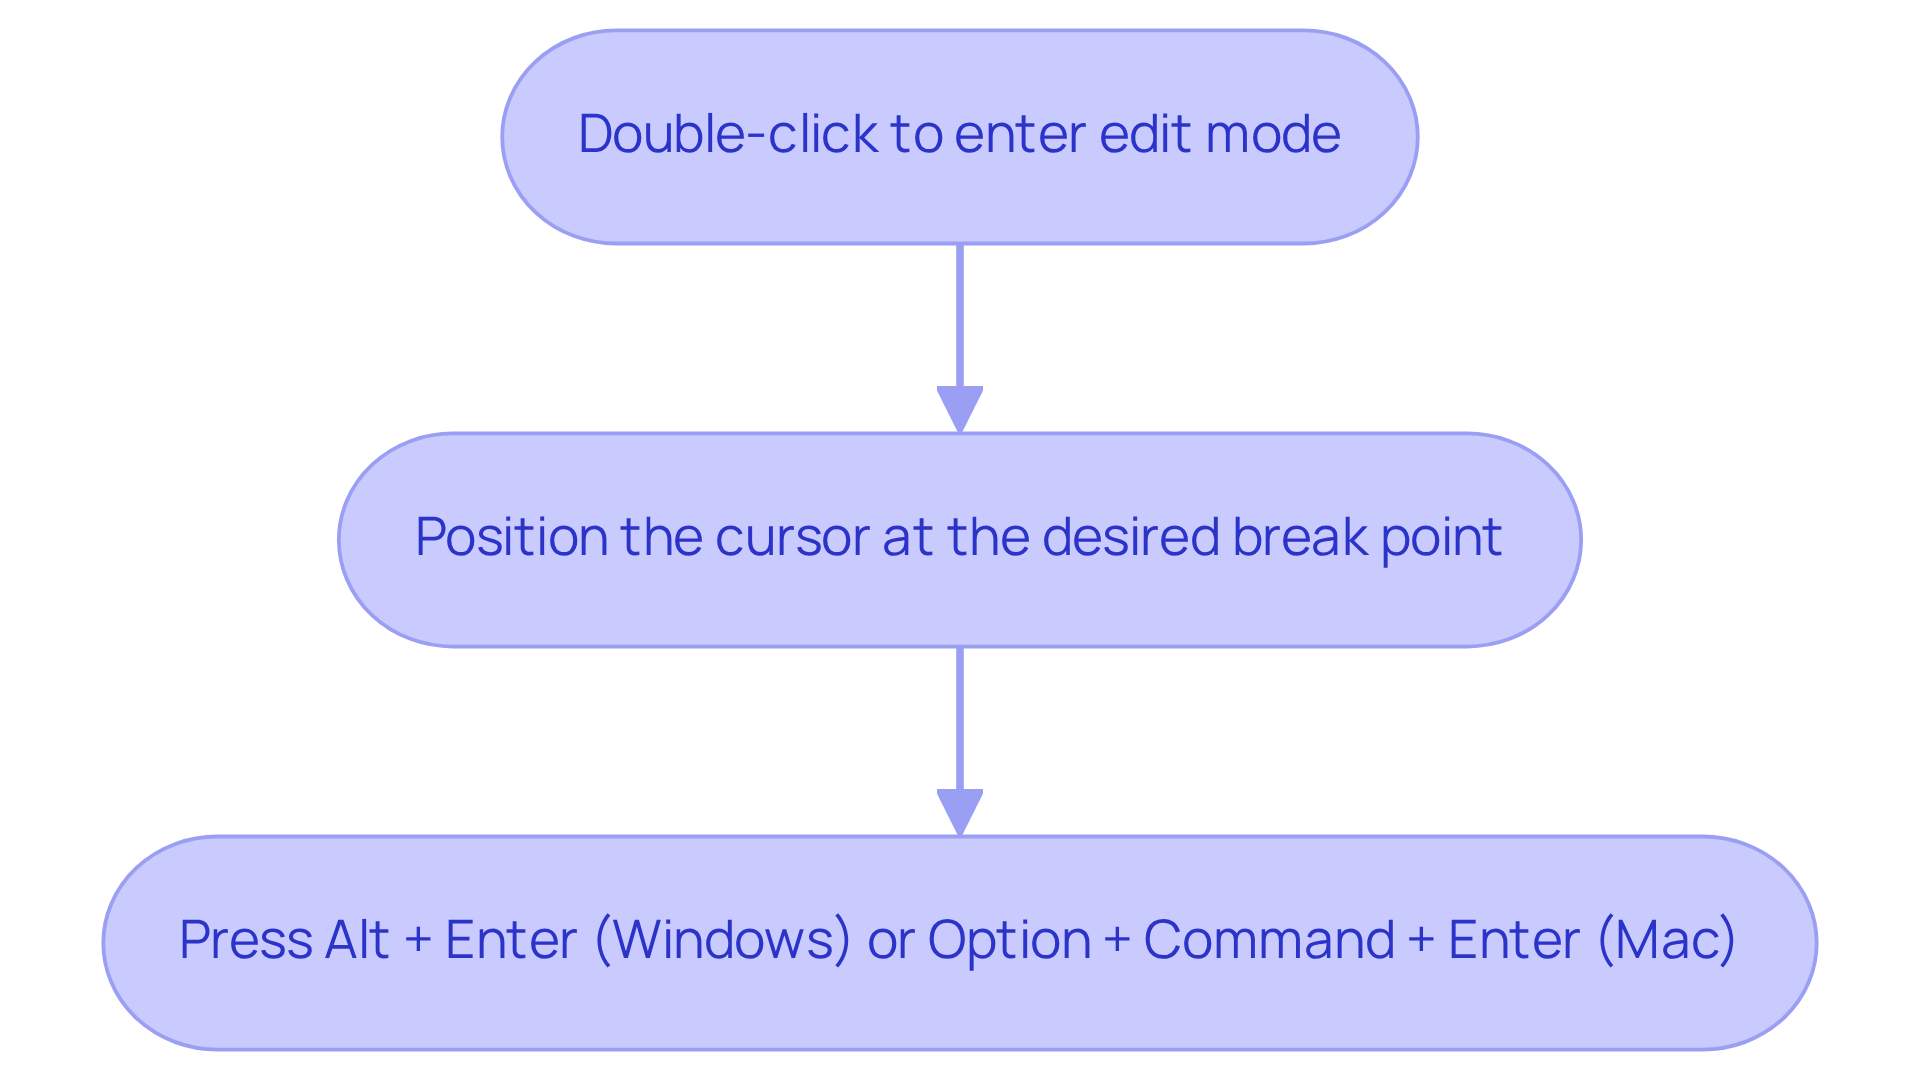
- Double-click the area where you wish to insert a line break to enter edit mode.
- Position the cursor at the point where you want the break to occur.
- Press 'Alt + Enter' (Windows) or 'Option + Command + Enter' (Mac) to create a line break.
This technique enables more efficient text formatting within a single unit, facilitating a clearer presentation of information. For instance, separating different pieces of information, such as names and addresses, within the same cell can significantly enhance clarity. Specialists emphasize that organized information display is essential for understanding, especially in intricate spreadsheets. In practice, users often insert line breaks to enhance readability, particularly when managing lengthy entries. Real-world examples demonstrate that utilizing line breaks can transform dense information into easily digestible formats, ultimately leading to better decision-making and analysis.
User feedback reveals that many finance professionals express frustration over how to make Excel cells expand to fit text vertically, as well as Excel's handling of merged cells, complicating data presentation. Incorporating line breaks effectively addresses these challenges, helping users understand how to make Excel cells expand to fit text vertically for a more organized presentation of information. Additionally, with ShortieCuts, similar formatting techniques can be applied in Google Sheets, making it easier for users transitioning from Excel to maintain clarity in their spreadsheets.
By adopting these strategies, you can elevate your spreadsheet game and ensure your data is not only organized but also impactful. Don't let formatting issues hold you back—embrace the power of ShortieCuts today!

Conclusion
In conclusion, mastering the art of expanding Excel cells vertically is crucial for anyone aiming to enhance their spreadsheet management. By leveraging features such as text wrapping, adjusting row heights, and inserting line breaks, users can ensure that all content remains easily readable and well-organized. This not only facilitates better analysis but also supports informed decision-making.
Key strategies include:
- Activating automatic text wrapping to eliminate the need for horizontal scrolling.
- Adjusting row heights for optimal visibility.
- Utilizing line breaks for tailored formatting.
Each of these techniques is vital in transforming dense data into clear, accessible information, significantly improving the overall user experience in Excel.
Adopting these practices enhances clarity and fosters an environment that promotes effective data management. By prioritizing text visibility in spreadsheets, individuals can fully harness the potential of their data, making it more impactful and easier to interpret. Take action today: implement these strategies to streamline your workflow and elevate your spreadsheet skills.
Frequently Asked Questions
What is text wrapping in Excel cells?
Text wrapping in Excel allows users to display information across multiple lines within a single cell, improving clarity for lengthy entries and ensuring all content is visible.
How can I enable text wrapping in Excel?
To enable text wrapping in Excel, select the desired cell or range, navigate to the 'Format' menu, choose 'Wrapping,' and select 'Wrap.'
Why is text visibility important in spreadsheets?
Text visibility is crucial as it enhances understanding and decision-making, allowing users to see complete narratives without distractions from cut-off content.
What are the practical advantages of using word flow in spreadsheets?
Incorporating word flow improves the aesthetics of spreadsheets, facilitates better organization of information, minimizes excessive scrolling, and enhances the overall user experience.
How does clear visibility contribute to effective information management?
Clear visibility is foundational to effective information management as it allows for valuable analytics and helps users make informed decisions based on complete information.

