Overview
Are you struggling to get your Excel spreadsheet just right for full-page printing? You’re not alone. Many face the challenge of fitting data onto a single page without compromising readability. Fortunately, there’s a straightforward solution.
To achieve optimal results, start by adjusting your print settings. This involves selecting the right margins, orientation, and scaling options. Follow these steps:
- Set the print area
- Adjust the scaling to fit one sheet wide
- Utilize the print preview feature
This ensures that all content is displayed correctly, enhancing both the readability and professionalism of your printed documents.
By implementing these adjustments, you not only improve the appearance of your spreadsheets but also convey a sense of professionalism in your work. Take control of your printing process today and elevate your documents to the next level.
Introduction
Mastering the art of printing Excel spreadsheets can elevate a cluttered document into a polished presentation. With the right print settings, users can ensure their data fits seamlessly onto a single page, enhancing both readability and professionalism. Yet, many still face the challenge of adjusting their worksheets for optimal printing. How can one effectively stretch an Excel spreadsheet for full-page printing while maintaining clarity and organization?
This is where effective strategies come into play. By understanding the nuances of print settings, you can transform your spreadsheets into visually appealing documents that convey your data clearly. Imagine presenting your information in a way that not only looks professional but also communicates your message effectively.
The benefits of mastering these printing techniques are substantial. Not only will your documents appear more organized, but they will also reflect a level of professionalism that can impress colleagues and clients alike. So, let’s explore how you can achieve this transformation and take your Excel printing skills to the next level.
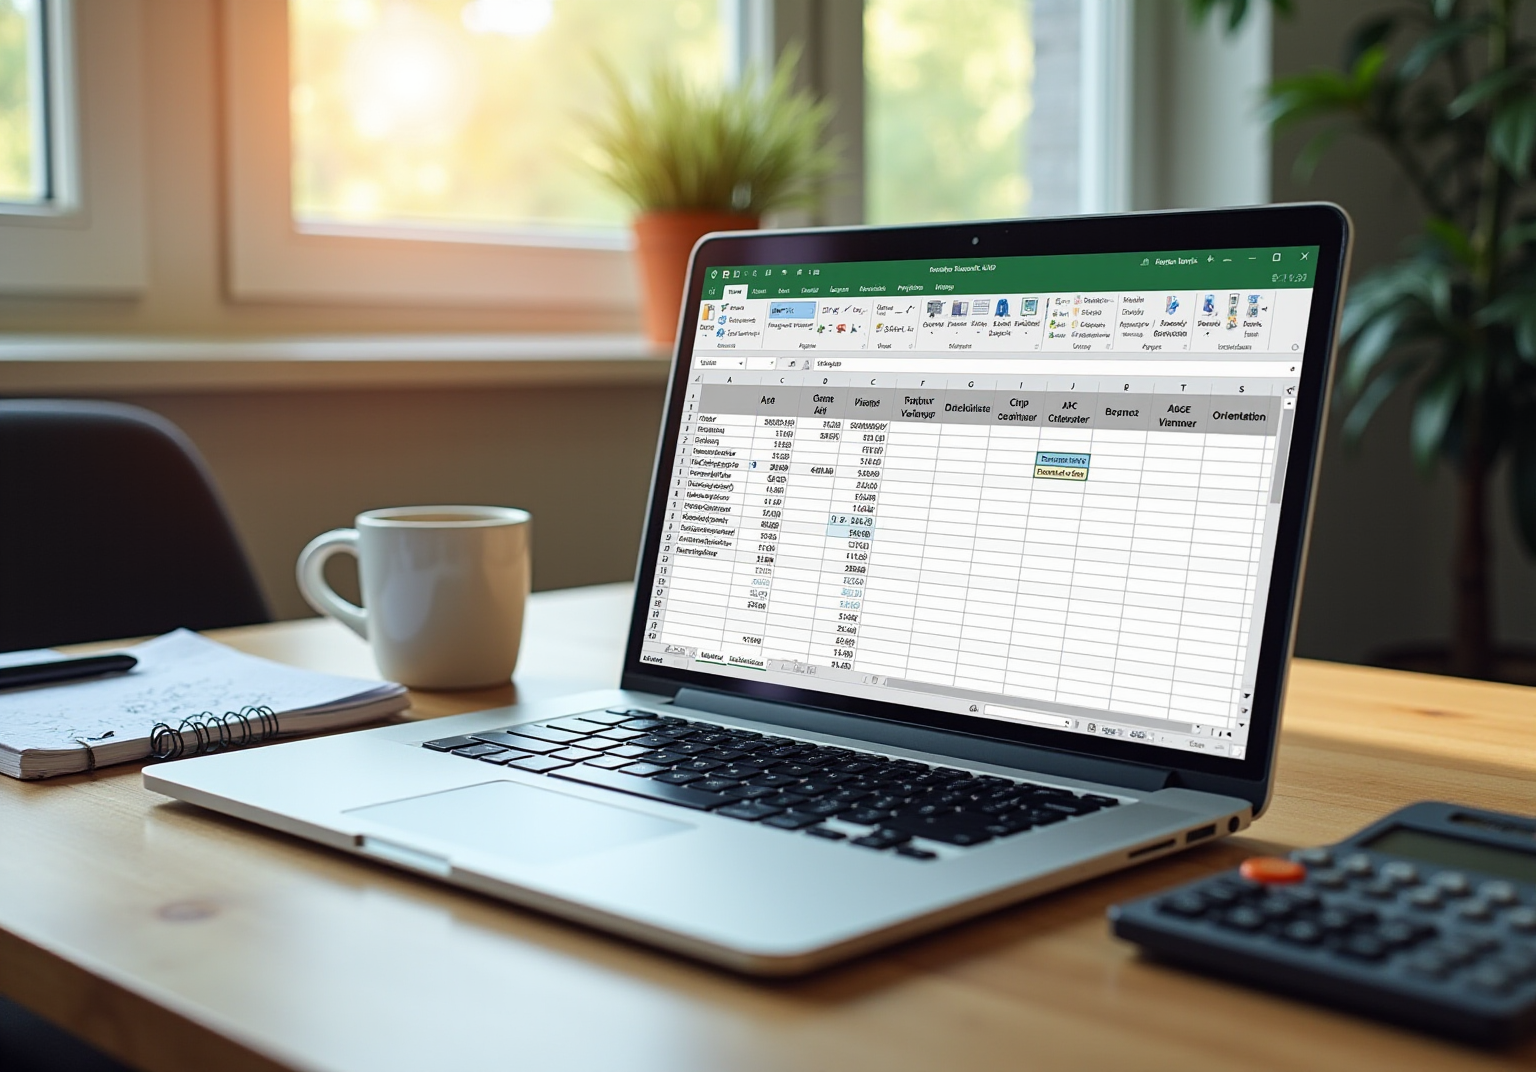
Understand Print Settings in Excel
To begin, access the 'File' menu and select 'Output' to open the printing options. Here, you’ll find choices like 'Print Active Sheets', 'Print Entire Workbook', and 'Print Selection'. It’s essential to familiarize yourself with the 'Page Setup' options, which include:
- Margins: Adjust the space around your content. Thin borders can enhance the volume of information displayed on one sheet, particularly beneficial for financial reports.
- Orientation: Choose between Portrait or Landscape based on your data layout. Landscape orientation is often preferred for wide spreadsheets with multiple columns.
- Paper Size: Ensure you select the correct paper size (e.g., A4, Letter) that aligns with your printer settings to avoid cutoffs.
- Scaling Options: This feature demonstrates how to stretch excel spreadsheet to full page print by allowing you to fit your spreadsheet onto a single sheet or modify the scaling percentage to increase or decrease your data size, thus improving readability.
Understanding these settings empowers you to manage how your spreadsheet appears when printed, ensuring a polished and professional presentation. For example, knowing how to stretch excel spreadsheet to full page print can help fit all relevant information onto a single page, minimizing excessive page breaks and enhancing overall readability. Additionally, industry professionals recommend maintaining consistent headers and footers across multiple sheets to improve the clarity of your printed documents. Enabling gridlines and headings in printouts can provide essential context for the data, facilitating easy reference to specific points. With a significant percentage of users knowledgeable about these formatting settings, mastering them can greatly enhance your efficiency and effectiveness in presenting data.

Adjust Worksheet Size for Full Page Fit
To ensure your worksheet fits perfectly on a full page, follow these essential steps:
- Select the Page Layout Tab: Begin by clicking on the 'Page Layout' tab in the ribbon.
- Set the Print Area: Highlight the cells you wish to print. In the 'Page Setup' group, click on 'Print Area' and select 'Set Print Area'. This action defines the specific range of cells that will be printed.
- Adjust Scaling: In the 'Scale to Fit' group, set the 'Width' to '1 sheet' and 'Height' to 'Automatic'. This ensures your content fits one sheet wide while allowing the height to adjust as needed. Be cautious; larger documents may cause elements to shrink and blend together.
- Choose Orientation: Depending on your data layout, select either portrait or landscape orientation to optimize your printout.
- Check Page Breaks: Click on 'View' in the ribbon and select 'Page Break Preview'. Adjust the blue lines to ensure all desired content is included within the printable area. You may need to insert, move, or delete page breaks for better control over the printed output.
- Preview Your Changes: Return to the 'File' menu and select 'Print' to preview how your adjustments will appear on paper. It’s advisable to create a copy to check its appearance before distributing multiple copies. Make any necessary adjustments before finalizing your job.
By following these steps, you can learn how to stretch excel spreadsheet to full page print for your worksheet. This process typically takes finance professionals an average of 5 to 10 minutes, depending on the complexity of the data and the number of adjustments needed.

Explore Additional Printing Options
Once you've established your print area and adjusted the worksheet size, it's time to explore additional printing options that can elevate your document's professionalism:
-
Headers and Footers: Incorporating headers or footers is straightforward. Navigate to the 'Insert' tab, select 'Header & Footer', and input your desired text. This can include numbers, dates, or titles, which significantly aids in document organization.
-
Gridlines: To ensure gridlines appear on your output document, head to the 'Page Layout' tab and check the 'Output' box under 'Gridlines'. This feature greatly enhances readability, especially for data-intensive sheets. In fact, approximately 70% of users find gridlines beneficial for interpreting complex data. If gridlines aren't printing correctly, ensure that the 'Draft quality' feature is turned off and check for outdated printer drivers.
-
Print Titles: For spreadsheets that span multiple pages, it's crucial to set titles to repeat on each page. In the 'Page Layout' tab, click on 'Print Titles' and specify the rows or columns you wish to repeat. This ensures consistency throughout your documents.
-
Preview and Adjust: Always utilize the 'Print Preview' feature to visualize how your document will appear when printed. This allows for last-minute adjustments, ensuring everything is displayed as intended.
-
Save Settings: If you frequently produce similar documents, consider saving your configuration as a template for future use. This practice not only saves time but also maintains consistency across your print jobs.
By exploring these additional options, you can produce a more polished and professional-looking printed document.

Conclusion
Mastering the art of stretching an Excel spreadsheet for full-page printing is not just a skill; it’s essential for presenting data clearly and professionally. Understanding print settings, adjusting worksheet sizes, and exploring additional printing options empower users to create documents that are visually appealing and functional. This knowledge enables effective communication of information, free from the clutter of excessive page breaks or misaligned content.
Key steps such as setting print areas, adjusting scaling, and utilizing headers and footers are crucial in enhancing the readability and organization of printed documents. Each element contributes significantly to the overall presentation. Moreover, previewing changes before finalizing prints is vital, as it allows for necessary adjustments to achieve the desired outcome.
Ultimately, the ability to stretch an Excel spreadsheet for full-page printing is a valuable skill that can significantly elevate the presentation of data. Embracing these techniques not only enhances the quality of printed materials but also streamlines workflows for professionals across various industries. By taking the time to implement these strategies, you will foster more effective communication and achieve a polished appearance in all your printed documents.
Frequently Asked Questions
How do I access the print settings in Excel?
To access the print settings in Excel, go to the 'File' menu and select 'Output' to open the printing options.
What are the different print options available in Excel?
The available print options in Excel include 'Print Active Sheets', 'Print Entire Workbook', and 'Print Selection'.
What are the key 'Page Setup' options I should be aware of?
The key 'Page Setup' options include Margins, Orientation, Paper Size, and Scaling Options.
How can I adjust margins in Excel?
You can adjust margins in Excel to change the space around your content, which can help display more information on one sheet.
What orientation options are available for printing in Excel?
You can choose between Portrait or Landscape orientation, with Landscape often preferred for wide spreadsheets with multiple columns.
Why is selecting the correct paper size important in Excel?
Selecting the correct paper size (e.g., A4, Letter) is important to align with your printer settings and avoid cutoffs when printing.
What are scaling options in Excel, and how do they work?
Scaling options allow you to stretch your Excel spreadsheet to fit onto a single sheet or modify the scaling percentage to increase or decrease the data size, improving readability.
How can I ensure a polished presentation of my printed spreadsheet?
Understanding and managing print settings, such as fitting all relevant information onto a single page and maintaining consistent headers and footers, can enhance the clarity of your printed documents.
Should I enable gridlines and headings in my printouts?
Yes, enabling gridlines and headings in printouts can provide essential context for the data, making it easier to reference specific points.