Introduction
Transform your spreadsheets into dynamic visual representations with conditional formatting in Google Sheets. This powerful feature allows you to highlight critical data effortlessly, enhancing clarity and empowering you to identify trends and insights with ease. Yet, many users still struggle with effectively implementing formatting rules based on text criteria.
How can you master these techniques to optimize data management and ensure that essential information stands out? By understanding and applying these formatting rules, you can elevate your data presentation and make informed decisions faster.
In this article, we will explore the steps to effectively utilize conditional formatting, the benefits it brings to your data management, and how you can implement these strategies to enhance your spreadsheets.
Understand Conditional Formatting in Google Sheets
Conditional styling in Google Sheets serves as a powerful tool that automatically alters the appearance of cells based on defined criteria, significantly enhancing visual representation. By adjusting background colors, text colors, or styles when certain conditions are met, users can effortlessly highlight critical information. For example, using conditional formatting if a cell contains text allows cells to be marked based on the presence of specific text, numerical thresholds, or custom criteria, making trends and outliers easily identifiable.
To effectively leverage this feature, understanding the various conditions available is crucial:
- Text contains: Format cells that include specific text, enabling quick identification of relevant entries.
- Greater than/less than: Apply styling based on numerical values to emphasize key information points.
- Custom formulas: Use formulas for more complex conditions, allowing for personalized data manipulation.
Experts in information representation underscore the importance of situational styling. Ben Shneiderman notes that 'visualization provides responses to inquiries you were unaware of,' highlighting how effective presentation can reveal insights hidden within data. Additionally, Stephen Few stresses the need to minimize clutter in information presentation, a goal achieved through specific styling that highlights essential metrics.
Organizations employing specific styling in Google Sheets have reported improved visualization outcomes. For instance, businesses can monitor sales performance by highlighting rows where sales exceed targets, facilitating quicker decision-making and strategic adjustments.
In conclusion, rule-based highlighting not only enhances the visual appeal of spreadsheets but also plays a vital role in data analysis. By making key information stand out, it empowers users to extract actionable insights from their data, ultimately leading to more informed business decisions.

Apply Conditional Formatting for Text Criteria
Master Conditional Formatting in Google Sheets
Applying conditional formatting based on text criteria in Google Sheets can significantly enhance your data management. Follow these straightforward steps to streamline your workflow:
- Open your Google Sheets document: Navigate to the spreadsheet where you want to apply conditional styles.
- Select the range of cells: Click and drag to highlight the cells you want to format.
- Access the Conditional Style menu: Click on
Formatin the top menu, then selectConditional stylesfrom the dropdown. - Establish the style guideline: In the Conditional format settings panel that appears on the right, choose
Format cells if...and selectText containsfrom the dropdown menu for conditional formatting if cell contains text. - Enter the text criteria: Type the specific text you want to use as the condition (e.g., "Approved").
- Choose the style: Select the options you want to apply (e.g., background color, text color).
- Click Done: Once you have established your criteria and layout, click the
Donebutton to apply the rule.
By following these steps, you will set up conditional formatting if cell contains text within the selected range, which will automatically be formatted according to your settings. This feature not only improves visualization but also assists in swiftly recognizing key insights, such as monitoring project statuses or emphasizing important notes. Efficient application of specific styles can greatly enhance data management methods, facilitating the identification of trends and the prioritization of tasks.

Troubleshoot Common Conditional Formatting Issues
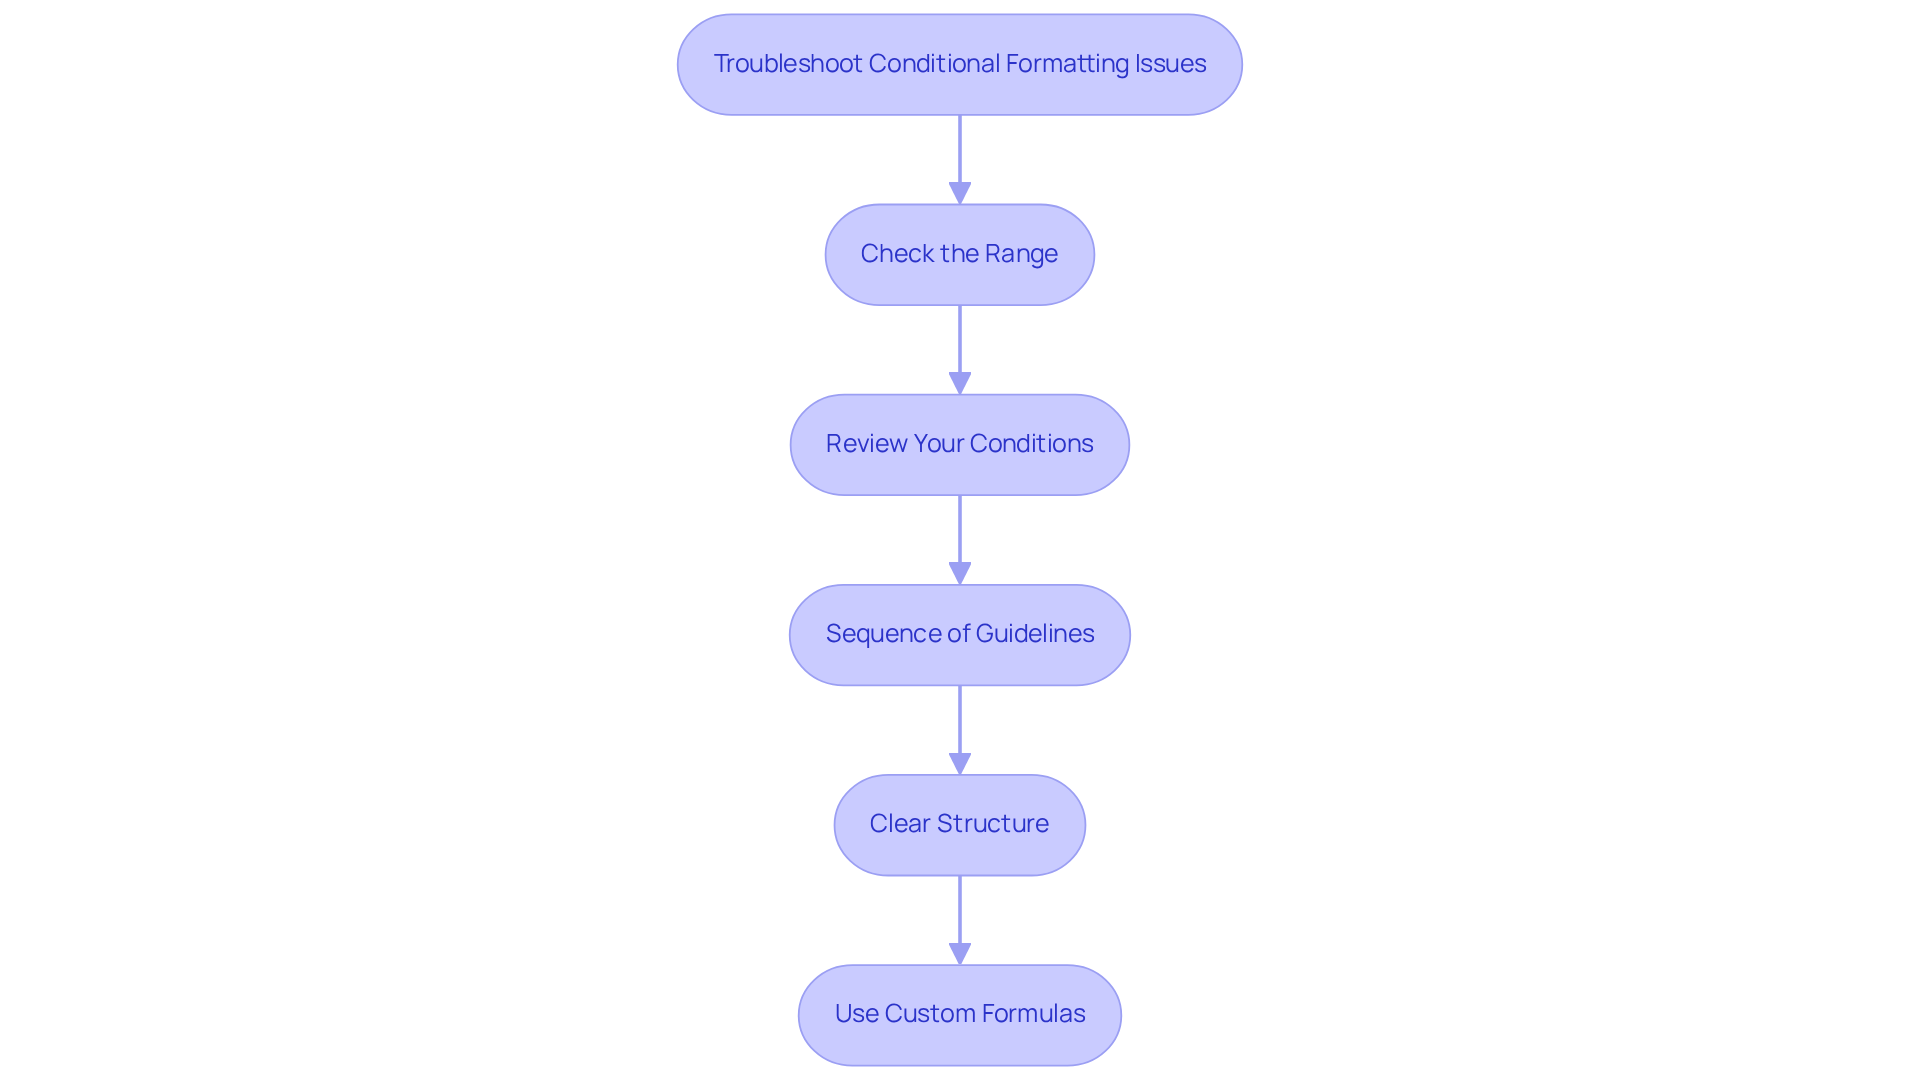
While using specific styles in Google Sheets can be straightforward, users often encounter common challenges. Here are some essential troubleshooting tips to help you navigate these issues:
- Check the range: Ensure that the range you selected for conditional formatting if cell contains text is correct. If the guideline isn't applying, it might be due to an incorrect range.
- Review your conditions: Double-check the criteria you set. For instance, if you used
Text contains, make sure the text is spelled correctly and matches the case if necessary. - Sequence of guidelines: Conditional styles are applied in the order they are presented. If multiple guidelines apply to the same cells, only the first guideline that evaluates to true will take effect. Adjust the order if needed.
- Clear structure: If a guideline isn't functioning as intended, try removing the structure and reapplying it. Sometimes, leftover styles can interfere with new rules.
- Use custom formulas: For more complex conditions, consider using custom formulas. This approach offers greater flexibility and control over how styles are applied.
By following these troubleshooting steps, you can effectively resolve most issues related to conditional formatting if cell contains text in Google Sheets.

Conclusion
Mastering conditional formatting in Google Sheets presents a powerful method for visually enhancing data management. This feature allows users to transform their spreadsheets into intuitive tools that highlight critical information based on specific text criteria. Such enhancements not only improve clarity but also facilitate quicker decision-making, making it an essential skill for effective data analysis.
This article explores the various aspects of conditional formatting, detailing the steps to apply it, the common challenges users encounter, and troubleshooting tips for effective implementation. Key insights include:
- The importance of selecting the correct range
- Verifying text criteria
- Understanding the sequence of formatting rules
These elements are crucial for maximizing the benefits of conditional formatting, ultimately leading to a more organized and insightful data presentation.
Incorporating conditional formatting into daily workflows can significantly boost productivity and enhance data interpretation. By mastering these techniques, users can better visualize trends, prioritize tasks, and extract actionable insights from their data. Embracing this powerful tool streamlines data management and empowers users to make informed decisions that drive success in their projects.
Frequently Asked Questions
What is conditional formatting in Google Sheets?
Conditional formatting in Google Sheets is a feature that automatically changes the appearance of cells based on defined criteria, enhancing visual representation and allowing users to highlight critical information.
How can I use conditional formatting to highlight specific text?
You can use conditional formatting to mark cells that contain specific text by setting a rule that formats those cells when the defined text is present.
What types of conditions can be applied in conditional formatting?
The types of conditions that can be applied in conditional formatting include "Text contains," "Greater than/less than," and "Custom formulas" for more complex conditions.
Why is situational styling important in data representation?
Situational styling is important because it helps to minimize clutter and enhances the presentation of data, making it easier to identify trends and insights that may not be immediately apparent.
How can businesses benefit from using conditional formatting in Google Sheets?
Businesses can benefit by using conditional formatting to monitor key metrics, such as sales performance, by highlighting relevant data points, which facilitates quicker decision-making and strategic adjustments.
What role does conditional formatting play in data analysis?
Conditional formatting enhances the visual appeal of spreadsheets and plays a vital role in data analysis by making key information stand out, enabling users to extract actionable insights from their data.

