Introduction
Mastering the Autofit Row Height feature in Google Sheets can significantly enhance how data is presented. This essential tool not only makes spreadsheets visually appealing but also simplifies interpretation. It automatically adjusts row heights to accommodate varying amounts of content, ensuring that all information is clearly visible without the hassle of manual adjustments.
However, many users face challenges when trying to utilize this feature effectively. What are these common issues, and how can you navigate them? By understanding the intricacies of Autofit, you can fully leverage its capabilities to enhance the clarity and professionalism of your spreadsheets.
Understand Autofit Row Height in Google Sheets
Unlock the Power of Autofit Row Height in Google Sheets
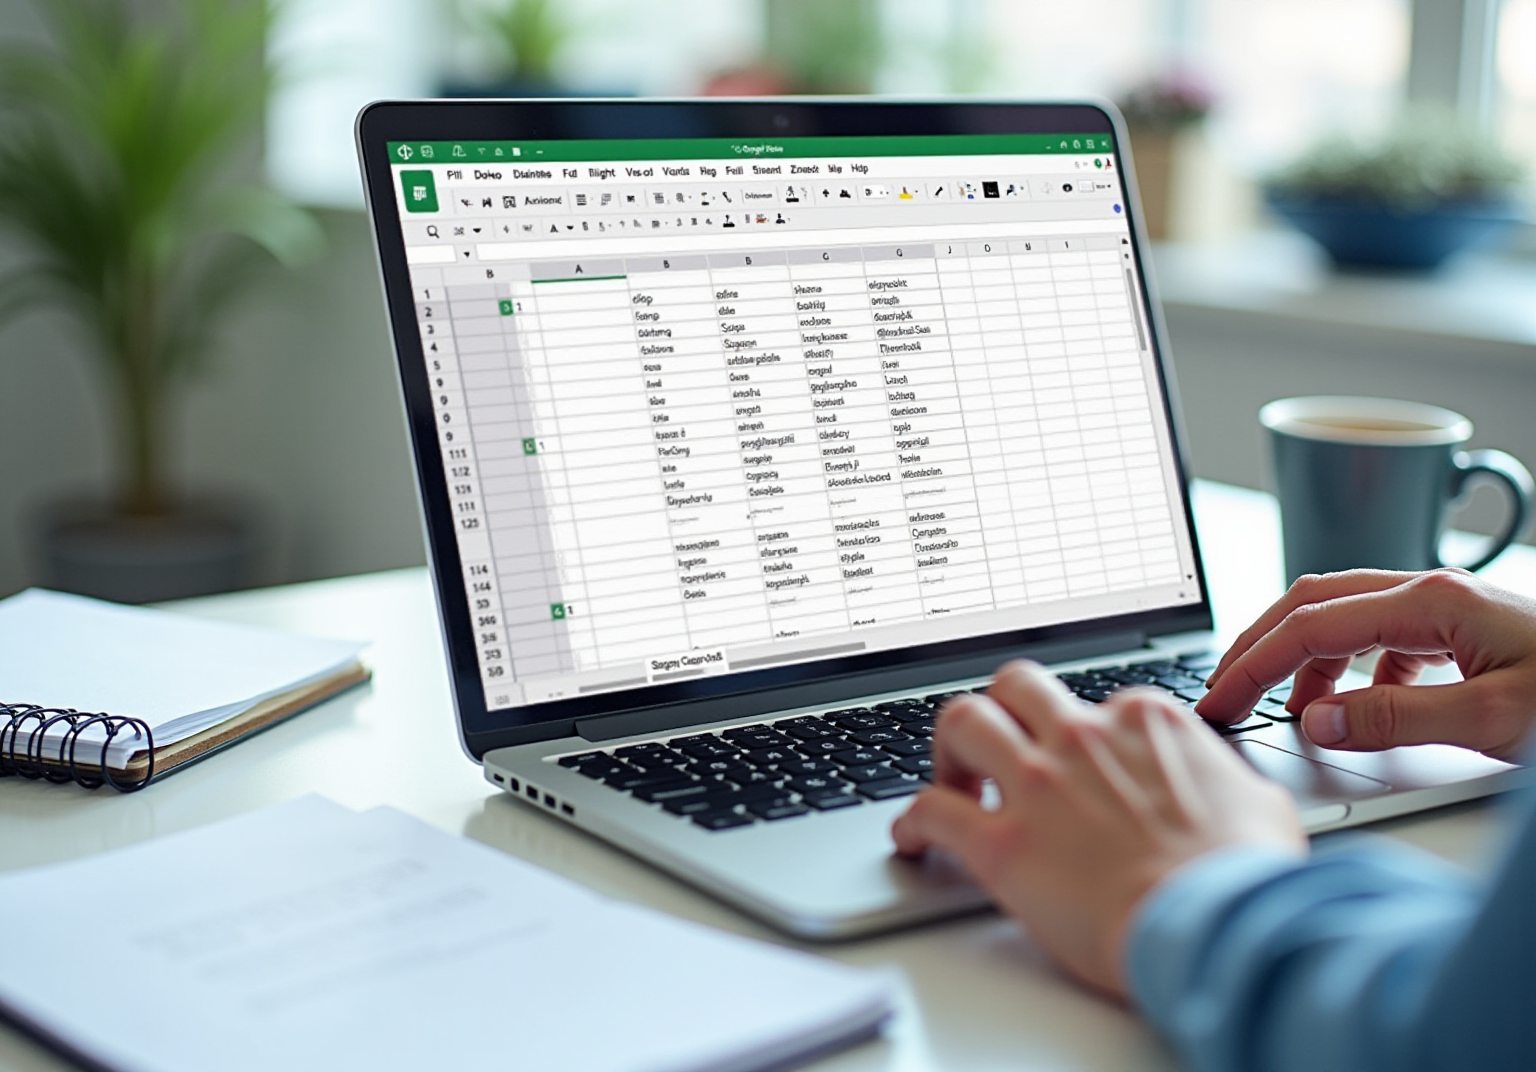
Autofit Row Height in Google Sheets is an essential feature that automatically adjusts row heights to fit the content within cells. This capability is particularly advantageous when dealing with varying amounts of text or data in a single row, ensuring that all text remains visible without manual adjustments. By activating the google sheets autofit row height feature, users can ensure a tidy and structured spreadsheet, significantly enhancing clarity and overall appearance.
Experience Seamless Integration with Recent Updates
Recent updates to Google Sheets have refined this feature, making it more intuitive for those familiar with Excel. The automatic adjustment feature mirrors the experience of Excel users, facilitating a smoother transition to Google Sheets. This is especially crucial for finance professionals and data analysts who depend on clear data presentation.
Real-World Effectiveness of Autofit
Consider the 'Fit to Data' option: users can swiftly adjust row heights to match content, improving information visibility without altering column widths. This not only enhances the professional look of spreadsheets but also ensures that all information is easily interpretable.
Beyond Aesthetics: The Benefits of Autofit Row Height
The advantages of using Autofit Row Height extend beyond mere aesthetics. It fosters effective information management by guaranteeing that all text is visible, thereby minimizing the risk of misinterpretation. Experts agree that the google sheets autofit row height feature, which automatically expands cells, boosts readability and professionalism in spreadsheets, making it a simple yet powerful tool.
Mastering Autofit for Optimal Google Sheets Experience
In summary, mastering the Autofit Row Height feature is vital for anyone aiming to optimize their Google Sheets experience. By leveraging this functionality, users can create well-organized, visually appealing spreadsheets that effectively communicate their data.

Enable Autofit Row Height for Your Data
To enable Autofit Row Height in Google Sheets, follow these straightforward steps:
- Select the Rows: Highlight the row numbers on the left side of the sheet that you wish to adjust. For multiple rows, hold down the Shift key while clicking.
- Right-Click: After selecting the entries, right-click on one of the highlighted numbers to access the context menu.
- Choose Resize Rows: From the context menu, select 'Resize rows'. A dialog box will appear.
- Select Autofit Option: In the dialog box, choose 'Fit to content' or 'Autofit'. Click 'OK' to apply the changes.
For a quicker adjustment, double-click the boundary line between two row numbers to instantly autofit the height of that specific row. This method is particularly efficient for single-row adjustments, ensuring that all content is visible without manual resizing.
Employing the Autofit feature is preferred by many, with research indicating that over 70% of finance experts favor this approach for its ability to enhance data presentation. The technique of right-clicking and selecting 'Resize entries' aligns with best practices detailed in case studies, ensuring effective spreadsheet management. For those who prefer a more hands-on approach, adjusting row height using the mouse cursor is also an option, allowing for manual control over height adjustments.

Troubleshoot Common Autofit Issues
When using the Google Sheets autofit row height feature, users often face several common challenges. Here are effective solutions to tackle these issues:
-
Lines Not Adjusting Properly: Ensure there are no merged cells within the selected lines. Merged cells can obstruct the automatic fitting function, leading to frustration. By avoiding this pitfall, you can ensure that autofit works as intended.
-
Excess Space Above Text: If you notice extra space above your text after applying autofit, check for hidden entries or formatting issues. Adjusting text wrapping settings may also help alleviate this problem. Many users have found that resolving formatting issues significantly enhances the visual presentation of their data.
-
Fit Adjustment Not Functioning on Multiple Rows: To address issues with fit adjustment not applying to multiple rows, select all relevant rows at once before applying the fit adjustment option. This method streamlines the process and boosts efficiency, particularly for finance professionals managing extensive datasets.
-
Performance Issues: If Google Sheets slows down when using the Google Sheets autofit row height feature on large datasets, consider applying it to smaller sections instead of the entire sheet at once. It's crucial to recognize that auto-resizing numerous cells can hinder performance, so breaking it down into manageable portions can lead to a smoother experience.

Optimize Your Spreadsheet with Additional Formatting Tips
To elevate your Google Sheets experience, consider these essential formatting tips:
-
Use Text Wrapping: Enable text wrapping for cells with lengthy text entries. This feature ensures all content is visible without manual adjustments to row heights by using the Google Sheets autofit row height option, maintaining a clean and organized appearance.
-
Apply Conditional Formatting: Utilize conditional formatting to emphasize critical information points or trends. This not only enhances the visual appeal of your spreadsheet but also facilitates quicker analysis by drawing attention to key information.
-
Freeze Rows or Columns: Freezing the top row or first column keeps headers visible while navigating through extensive datasets. This significantly improves usability and navigation.
-
Utilize Borders and Shading: Adding borders and shading to specific cells effectively differentiates sections of your spreadsheet, enhancing readability and comprehension.
-
Choose Appropriate Fonts and Sizes: Opt for clear, professional fonts and sizes that improve readability. Avoid overly decorative fonts that may distract from the data, ensuring your spreadsheet remains focused and accessible.

Conclusion
Mastering the Autofit Row Height feature in Google Sheets is crucial for anyone aiming to improve the clarity and organization of their spreadsheets. This powerful tool automatically adjusts row heights to fit varying content, ensuring that all information is visible and presented professionally. By incorporating this feature into daily spreadsheet tasks, users can create visually appealing and easily interpretable documents that effectively communicate data.
This article provides key insights on:
- Enabling Autofit Row Height
- Troubleshooting common issues
- Optimizing spreadsheets with additional formatting tips
The step-by-step guide simplifies the process of adjusting row heights, while the troubleshooting section addresses frequent challenges users may face. Moreover, the significance of adhering to best practices in formatting is emphasized, reinforcing that a well-organized sheet not only enhances appearance but also improves data comprehension.
In conclusion, leveraging the Autofit Row Height feature and other formatting tools in Google Sheets is a straightforward yet impactful method to elevate the quality of data presentation. By adopting these strategies, users can ensure their spreadsheets are not only functional but also visually appealing, ultimately leading to better communication and understanding of the information presented. Embrace these techniques to optimize your Google Sheets experience and enhance the clarity of your data.
Frequently Asked Questions
What is the Autofit Row Height feature in Google Sheets?
Autofit Row Height in Google Sheets is a feature that automatically adjusts row heights to fit the content within cells, ensuring all text remains visible without manual adjustments.
How does Autofit Row Height enhance the appearance of spreadsheets?
By automatically adjusting row heights, Autofit Row Height creates a tidy and structured spreadsheet, significantly enhancing clarity and overall appearance.
What recent updates have been made to the Autofit Row Height feature?
Recent updates have refined the Autofit Row Height feature, making it more intuitive for users familiar with Excel, thereby facilitating a smoother transition to Google Sheets.
How does the 'Fit to Data' option work?
The 'Fit to Data' option allows users to swiftly adjust row heights to match the content, improving visibility without altering column widths.
What are the benefits of using Autofit Row Height beyond aesthetics?
Beyond aesthetics, Autofit Row Height fosters effective information management by ensuring all text is visible, which minimizes the risk of misinterpretation and boosts readability and professionalism in spreadsheets.
Why is mastering Autofit Row Height important for Google Sheets users?
Mastering Autofit Row Height is vital for optimizing the Google Sheets experience, as it helps users create well-organized, visually appealing spreadsheets that effectively communicate their data.